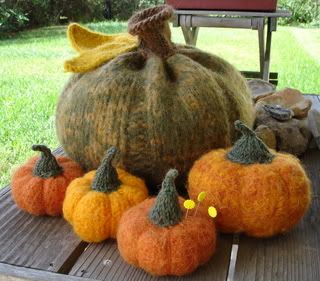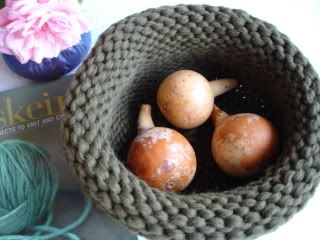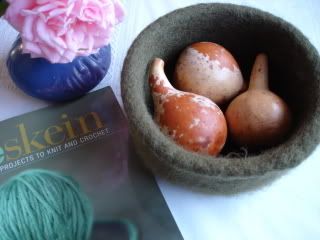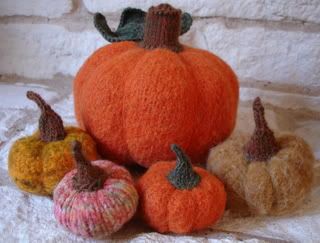
I'm on a felting kick again. This time it's pumpkins. The large pumpkin is made from a pattern I picked up in Utah. Even though the pattern was free, it's copyrighted so I can't share it. But, I can share how I made the small pumpkins since they are creations of mine. They are about the same size of the ornamental gourd pumpkins you can buy in the store this time of year.
MINIATURE FELTED PUMPKIN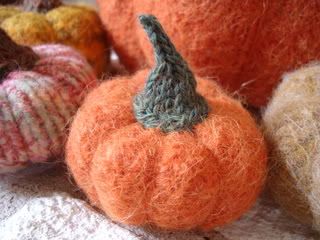 Pumpkin:
Yarn: Use any natural fiber yarn that will shrink when washed. I used Cascade Pastaza in Burnt Orange.
Needles: Double point needles in appropriate size. Use a couple of sizes larger than recommended for your yarn. The goal is to create a loosely knitted fabric. US Size 11 is usually good for worsted weight and is what I used.
Cast on 15 stitches and join in the round.
K 2 rnds
Inc 1, k1, inc 1, k2. Repeat to the end of the round. (21 sts)
K 3 rnds
Inc 1, k3, inc 1, k2. Repeat to the end of the round. (27 sts)
K 10 rnds
K2tog, k3, k2tog, k2. Repeat to the end of the round. (21 sts)
K 3 rnds
K2tog, k1, k2tog, k2. Repeat to the end of the round. (15 sts)
K 1 rnd
K2tog around to last stitch, K1 (8 sts)
K2tog around (4 sts)
Cut yarn. Draw through remaining sts to close. Weave in ends. Leave the top of the pumpkin open to add stuffing later.
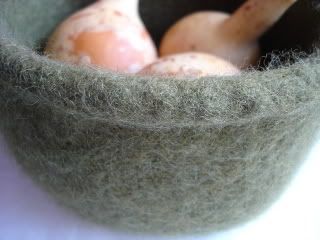
Felt in the washing machine until desired size is acheived and stitches are no longer visible. There are many ways to shrink your knitting. The way that works for me is to use hot water, a small amount of soap (Eucalan Woolwash), high agitation and the lowest water level setting available. I also throw in an old pair of jeans to help with the agitation. When the felting is finished, I set the machine to the spin cycle for just long enough to remove the excess water, but not long enough to set permanant creases in my knitting.
Stuff the pumpkin while it is still damp so that you can shape it as you want. With a tapestry needle and yarn, sew a running stitch around the opening and draw closed. Using lengths of yarn, form sections by wrapping yarn around pumpkin and drawing tight to shape. Tie knots on the top of the pumpkin. The knots will be hidden by the stem.
StemYarn: Worsted Weight
Needles: US 6 Dpns
Cast on 12 sts. and join in the round.
K 4 rnds
K2tog around (6 sts)
K2tog around (3 sts)
Work I-cord on remaining sts until desired length. Bind off. Weave in ends.
Using a sewing needle and thread, sew stem to top of pumpkin. Use a little stuffing to fill in bottom of stem if desired.
Be creative and have fun with this pattern. Combine different colored yarns together to get a variegated look. Use up those little bits of yarn you've been saving and bust your stash.
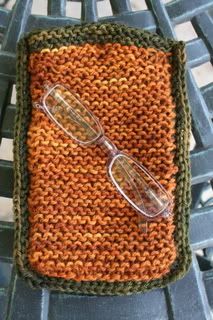
 Miniature Felted Pumpkins
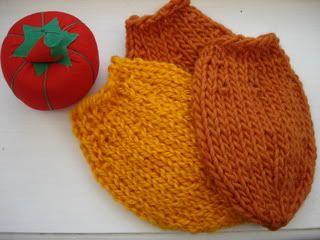
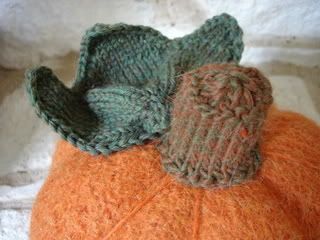
 Before Felting
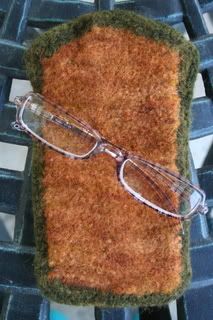
 After Felting